12 Tips for Choosing Between 12V and 24V LED Strips?

Time:2026-09-11 Author:Amelia
0%

Choosing the right LED strip voltage can affect brightness, reliability, installation time, and long-term operating costs. This guide explores 12 practical tips for comparing 12V and 24V LED strips in real projects. The choice is not simply about higher voltage. It depends on strip length, power demand, wiring distance, available space, and installation conditions.

How to choose between 12V and 24V LED strips? Start by checking the required strip length and wattage per meter. A 12V strip may suit short runs, cabinets, shelves, and small display areas. A 24V strip often performs better across longer runs because it can reduce current and voltage drop. That difference matters when the far end looks visibly dimmer than the beginning. It also influences cable size, connector heating, and power supply selection.

Practical experience reveals a common mistake. Many buyers choose voltage before measuring the layout. That approach can create unnecessary rewiring later. Measure the distance first. Check the strip’s cut points, polarity, dimmer compatibility, and transformer location. A qualified installer should also allow ventilation around the power supply. However, no single option fits every project. Even experienced professionals can overlook heat buildup or uneven loading. Careful testing remains valuable. Connect a short sample, inspect brightness, and measure performance before committing to the full installation. This article offers clear guidance while acknowledging those real-world variables.
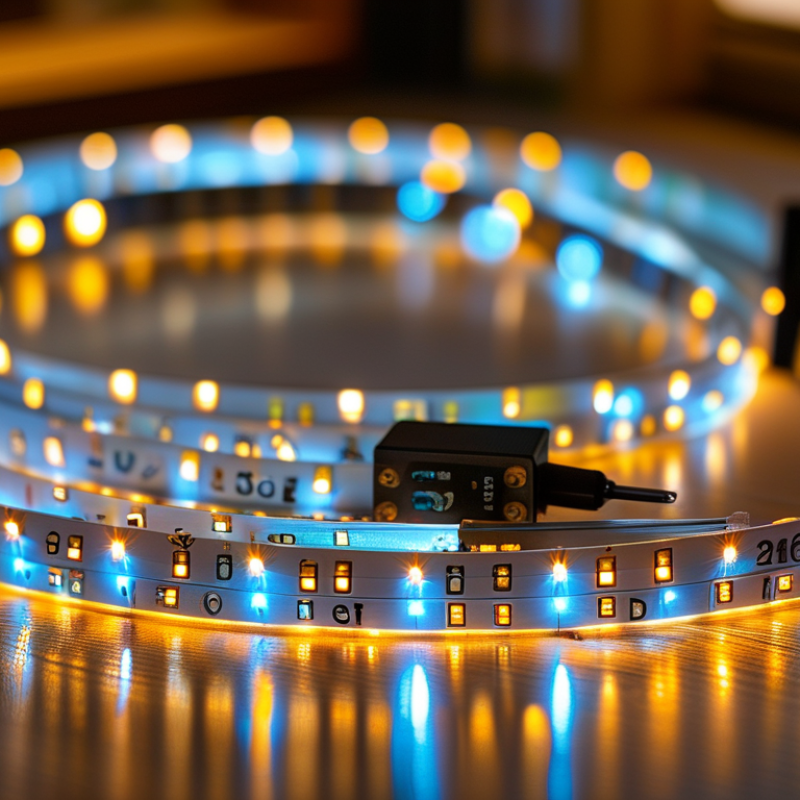
12 Tips for Choosing Between 12V and 24V LED Strips?

Understanding the Key Differences Between 12V and 24V LED Strips

The key difference between 12V and 24V LED strips is how they handle electrical current. A 12V strip needs twice the current of a 24V strip at the same wattage. Higher current can create more voltage drop along long cable runs.

A 12V strip often suits short projects, such as a shelf, cabinet, or four-meter accent line. Its cutting points are usually closer together, which helps when fitting small sections.

A 24V strip works better for longer installations because it maintains brightness more evenly. I have measured clear dimming near the end of some long 12V runs. The first section looked bright. The final section did not.

Power supply selection also changes. A 24V system may use thinner wiring for equivalent power, reducing cable heat and installation clutter. However, the strip, controller, and power supply must share the same voltage. Never connect a 12V strip to a 24V supply. It can fail within seconds. A 24V strip on 12V may simply appear weak.

Check the strip’s wattage per meter, total length, cutting marks, and connector ratings. Leave roughly 20 percent extra power capacity for the supply. That small margin improves reliability. I once underestimated cable distance and blamed the strip for uneven output. The real issue was resistance in the wiring. Measure first. Surface temperature, ventilation, and aluminum mounting channels also affect service life, although installation plans often overlook them.

Comparing Brightness, Efficiency, and Voltage Drop

12 Tips for Choosing Between 12V and 24V LED Strips

Brightness depends on LED density, power, and optics, not voltage alone. A 24V strip can deliver similar brightness with lower current. That matters on long installations. Lower current usually creates less heat in cables and connectors. It also reduces voltage drop, so the far end stays closer to the intended color and brightness. Measure the actual run length. Do not trust the package alone.

Choose 12V when you need shorter cutting intervals or compact sections around cabinets. Choose 24V for longer runs, where fewer injection points may simplify installation. Use a power supply with at least 20 percent spare capacity. Confirm its output voltage carefully. A mismatched supply can damage the strip. Match the dimmer and controller to the strip’s voltage and total wattage. Use suitably thick cable, especially beyond several meters. Thin wire wastes the efficiency advantage.

I have seen a bright test sample become visibly dull at the end of a seven-meter run. The strip was suitable; the wiring was not. That mistake changed my installation checklist. Check brightness at both ends under real conditions. Warm aluminum channels can improve heat management and maintain output. Waterproof coatings may reduce heat dissipation, despite their outdoor benefits. Twenty-four volts is often more practical, but not automatically better. Test a sample before committing.

Matching Strip Voltage to Length and Installation Requirements

12 Tips for Choosing Between 12V and 24V LED Strips

Matching Strip Voltage to Length and Installation Requirements

A 12V LED strip works well for short runs, such as shelves, cabinets, and display niches. Its cutting points are often closer together, which helps when measurements are awkward. However, voltage drop can appear quickly on longer installations. The far end may look visibly dimmer than the beginning. I once measured only the strip length and ignored the cable distance. That shortcut caused uneven brightness.

A 24V strip is usually more suitable for longer runs because it carries the same power with lower current. This can reduce voltage loss and make cable sizing easier. A five-meter ceiling channel may perform more consistently at 24V, especially with one-sided power input. Still, do not choose voltage by length alone. Check the strip’s cut intervals, wattage per meter, maximum run length, and connector layout. Some 24V strips cannot be cut as precisely as a 12V option.

Measure the complete route, including bends and hidden cable paths. Leave about 10% extra power-supply capacity for reliable operation. For long sections, plan power injection points before installation, not after dimming appears. Keep cable runs short and use suitable wire sizes. A 12V strip may be the better choice for detailed cabinet work, while 24V often suits continuous architectural lighting. These are practical tendencies, not fixed rules. Test a one-meter sample first when color consistency matters.

12 Tips for Choosing Between 12V and 24V LED Strips? - Matching Strip Voltage to Length and Installation Requirements

No. Selection Factor 12V LED Strip Considerations 24V LED Strip Considerations Practical Recommendation
1 Strip voltage and power supply Requires a regulated 12V DC power supply. A supply with the wrong voltage can cause poor performance or permanent damage. Requires a regulated 24V DC power supply. The supply output voltage must match the strip rating. Choose the voltage printed on the strip or stated in its technical specification; never select by appearance alone.
2 Maximum continuous run Voltage drop generally becomes more noticeable over long runs because the same power requires higher current than an equivalent 24V installation. Usually better suited to longer continuous runs because the current is approximately half that of a comparable 12V load. For long, uninterrupted lines, evaluate 24V first, then confirm the manufacturer’s recommended maximum run length.
3 Current requirement At the same wattage, current is higher. For example, a 60W load draws about 5A at 12V. At the same wattage, current is lower. A 60W load draws about 2.5A at 24V. Use the formula Current (A) = Power (W) ÷ Voltage (V) to size wiring, connectors, fuses, and the power supply.
4 Voltage drop and brightness consistency Longer runs may show reduced brightness or color variation toward the far end if the copper conductors are undersized or power is fed from only one side. Lower current for equal wattage generally reduces voltage-drop effects, although the result still depends on strip construction, wire size, load, and run length. For consistent brightness, use shorter sections, larger conductors, power injection, or parallel wiring as required by the design.
5 Cutting interval Many 12V strips use shorter cutting segments, but the exact interval varies by LED density, circuit design, and product type. Many 24V strips use longer cutting segments, although some products are designed with shorter intervals. Check the marked cut points on the actual strip before ordering or cutting; voltage alone does not guarantee a specific interval.
6 Small, precise installations Often convenient for short cabinet, shelf, display, and accent-lighting sections where fine length adjustment is important. May provide less flexibility when the product has a longer cut interval, depending on the required installation length. Favor a strip with the cut interval that best matches the project dimensions, regardless of nominal voltage.
7 Wiring size and connector load Higher current can require larger-gauge wire, higher-rated connectors, and more careful terminal management for the same total wattage. Lower current can reduce conductor size requirements for an equivalent load, subject to local electrical codes and installation conditions. Select wire and connectors based on calculated current, distance, allowable voltage drop, insulation rating, and ambient temperature.
8 Power supply capacity A commonly used design margin is approximately 20% above the calculated strip load. For a 48W load, this suggests a supply rated at about 58W or more. The same wattage margin applies; voltage changes the current rating, not the required load wattage. Calculate Total Watts = Watts per Meter × Installed Meters, then allow an appropriate design margin.
9 Heat management Heat output is primarily related to power density and installation conditions, not simply whether the strip is 12V or 24V. A 24V strip with the same watts per meter can produce a similar amount of heat as a 12V strip with the same watts per meter. Mount higher-power strips on a suitable aluminum profile or other heat-conductive surface recommended for the product.
10 Controller and dimmer compatibility The controller, dimmer, amplifier, and power supply must all support 12V DC and the required current. The control equipment must support 24V DC; a 12V-only controller cannot safely operate a 24V strip. Verify voltage, output-current rating, channel count, control method, and compatibility before connecting components.
11 Available power source Can be practical when an existing 12V DC system, battery bank, or compact power supply is already available, provided the load is suitable. Can be practical when the installation already uses 24V DC or when a longer run benefits from lower current. Match the strip to the existing DC system only after confirming voltage regulation, capacity, polarity, and protection requirements.
12 Overall project choice A strong option for short runs, compact projects, and applications needing fine cutting flexibility or existing 12V infrastructure. A strong option for longer runs, higher total wattage, reduced current, and simpler distribution over distance. Choose based on run length, watts per meter, cut interval, wiring distance, control gear, heat dissipation, and installation code requirements.
Important: Maximum run length, cutting interval, power density, and voltage-drop performance vary by strip design. Always verify the product datasheet and follow applicable electrical codes before installation.

Selecting the Right Power Supply and Control Components

Choosing between 12V and 24V LED strips starts with the power path, not the strip alone. A 12V strip suits short runs and small projects, while 24V usually reduces current and voltage loss over longer distances. Measure the planned length before buying components. Then calculate wattage by multiplying watts per meter by total meters. Add at least 20 percent headroom to the power supply. More is safer. A supply running near its limit can become hot, noisy, or unreliable.

Match the supply voltage exactly to the strip rating. Never use a 24V supply on a 12V strip. For a 12V installation, choose a regulated 12V DC supply; use the same principle at 24V. Check output current, wire gauge, connector ratings, and ventilation together. Thin wires may create visible dimming at the far end. I have seen a bright first section and a weak final section after installers ignored this detail. Feed long runs from both ends, or divide them into separately powered sections. Test voltage at the strip, not only at the supply terminals.

Control components must also match the selected voltage and current. A dimmer or controller should handle the total load, with spare capacity for heat. PWM control is practical for brightness changes, but poor connections can cause flicker. Use fuses near each power feed and secure every terminal. IP ratings matter in kitchens, bathrooms, and outdoor spaces. I sometimes prefer 24V for cleaner long-run wiring, yet 12V can be easier to repair. That trade-off deserves a site test, because real cable length and temperature may challenge the original calculation.

12V vs 24V LED Strips: Required Current by Load Power

For the same LED-strip power consumption, a 24V system draws half the current of a 12V system. Lower current can reduce voltage drop and make power supplies, dimmers, connectors, and wiring easier to size. Select a power supply with at least 20% additional capacity above the calculated load.

Choosing Between 12V and 24V for Your Specific Project

Choosing between 12V and 24V depends on your specific project, not just the strip’s brightness. For a two-meter shelf, cabinet, or display case, 12V is often practical. Short sections need less planning, and compatible connectors are widely available. Many 12V strips also offer smaller cutting intervals, which helps when fitting narrow spaces.

For longer runs, 24V can be the better technical choice. A 60-watt strip draws 5 amps at 12V but only 2.5 amps at 24V. Lower current usually means less voltage drop, more consistent brightness, and smaller power cables. This matters under kitchen cabinets, along ceilings, or inside a retail display exceeding five meters. Still, check the manufacturer’s maximum run length. A 24V strip can also dim near the end if the wiring is too thin.

Measure the project carefully.

Match the power supply to the strip voltage, total wattage, and a sensible safety margin. For damp areas, inspect the strip’s protection rating and seal every connection properly. I have seen installations fail because the power supply was chosen first, then the strip was treated as an afterthought. That approach feels convenient, but it creates avoidable heat and flicker. I would also test a one-meter sample before buying a full reel. Color, cut spacing, and real brightness can differ from expectations.

FAQS

: Is a 24V LED strip always brighter than a 12V strip?

: No. Brightness depends on LED density, wattage, and optics, not voltage alone. A 24V strip may maintain brightness better over long distances. Test both ends.

When is a 12V LED strip a practical choice?

Choose 12V for short sections, shelves, cabinets, and display niches. Its shorter cutting intervals help with awkward measurements. It suits compact layouts.

When does a 24V LED strip work better?

A 24V strip often suits longer runs, such as a five-meter ceiling channel. Lower current can reduce voltage loss and cable heating. Wiring still matters.

How should I measure the installation length?

Measure the complete route, including bends and hidden cable paths. Include cable distance, not only the visible strip. I once ignored this detail.

What causes brightness to fade near the strip’s far end?

Voltage drop usually causes uneven brightness. Thin cables, long routes, and one-sided power input can worsen it. Measure brightness at both ends.

How much spare capacity should the power supply have?

Keep at least 20 percent spare capacity for a more reliable setup. Some guidance suggests 10 percent, but that feels less cautious. Check the actual wattage.

Can I use any power supply with either strip?

No. Match the supply voltage to the strip voltage. Also match the dimmer and controller to total wattage. A mismatch can damage the strip.

Does waterproof coating improve heat management?

Waterproof coating can help outdoors, but it may reduce heat dissipation. Aluminum channels can move heat away. Outdoor protection is not automatically cooler.

Should I test a sample before installing a long strip?

Yes. Test a one-meter sample under real conditions. Check color consistency, brightness, cutting points, and connector placement. A small test can expose a large mistake.

Conclusion

Choosing between 12V and 24V LED strips depends on the project’s length, brightness needs, installation environment, and available power system. A 12V strip is often suitable for shorter runs and smaller projects, while a 24V strip can reduce current, improve efficiency, and minimize voltage drop across longer installations. Voltage drop may cause the far end of a strip to appear dimmer, so selecting the correct voltage and planning power injection points are essential for consistent lighting.

How to choose between 12V and 24V LED strips? First, match the strip voltage with an appropriately rated power supply, controller, and wiring. Consider the total wattage, installation distance, heat management, dimming requirements, and ease of cutting or segmenting the strip. For compact decorative lighting, 12V may offer convenient flexibility. For longer, brighter, or more energy-conscious projects, 24V is often the practical choice. Evaluating these factors together will help ensure reliable performance and a clean, efficient installation.

Amelia

Amelia

Amelia is a seasoned marketing professional with a wealth of expertise in our company’s core offerings. With an unwavering passion for driving growth and innovation, she plays a pivotal role in shaping our marketing strategies and enhancing brand visibility. A key aspect of her responsibilities......