Low voltage LED strips are popular for their energy efficiency and vibrant lighting. However, many users face a common issue: the gradual dimming of lights towards one end. "Why is my low voltage LED strip losing brightness at the end?" is a question often raised by both enthusiasts and professionals. The phenomenon can stem from several factors, including voltage drop, inadequate power supply, or poor connections.
Expert John Smith, a lighting engineer with over a decade of experience, emphasizes the importance of proper installation. He states, "Many users overlook the impact of voltage drop along the strip length." As the distance increases from the power source, the electrical resistance can reduce brightness. This is especially noticeable on longer strips.
Understanding these nuances can lead to better lighting solutions. While troubleshooting dimming issues, it’s crucial to check connections and ensure your power supply matches the strip’s requirements. Often, minor adjustments can significantly enhance your LED strip's brightness, creating an optimal lighting experience.
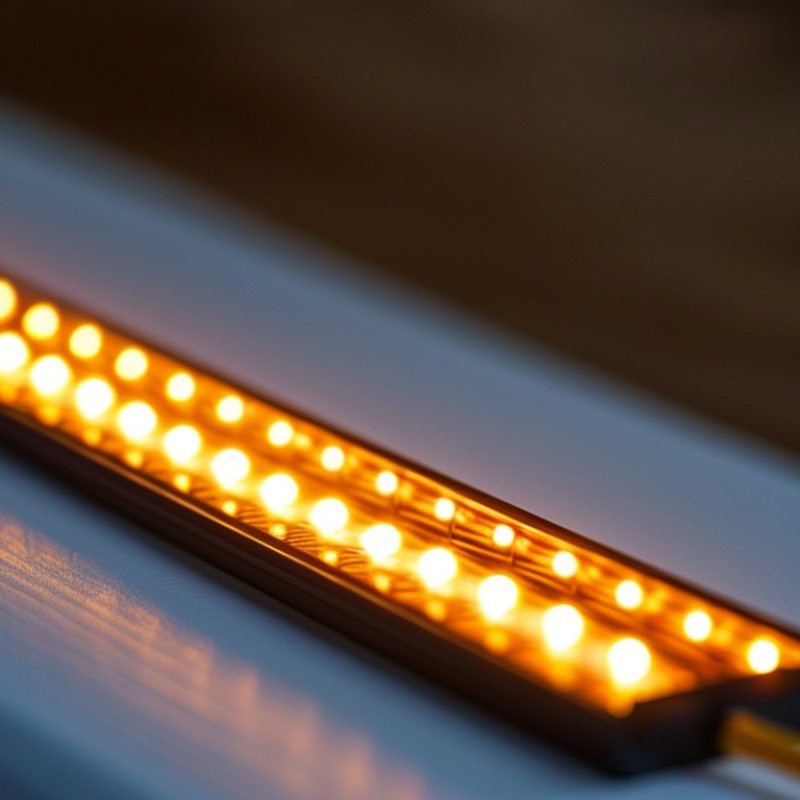
Low voltage LED strips are popular for their efficiency and versatility. However, users often notice dimming at the ends of these strips. This issue can be frustrating, especially when you expect consistent brightness throughout the length of the strip. One common cause is voltage drop. As electricity travels along the wire, resistance increases, leading to a loss of voltage. This is particularly evident in longer strips.
Another factor contributing to dimming is poor connections. Loose or corroded connections can hinder the flow of electricity. If the connections aren't secure, the LEDs at the end may not receive enough power. Heat buildup can also play a role. LEDs can become less efficient if they overheat, resulting in diminished light output.
Lastly, the quality of the LED strip itself matters. Cheaper strips might not handle power distribution effectively. Users might overlook this aspect when making purchases, and it could lead to unwelcome surprises later. Being aware of these factors can help you troubleshoot dimming issues effectively.
Voltage drop occurs due to resistance in wiring. It often affects LED strip brightness, especially at the ends. As current flows through the conductor, it loses voltage along the way. Research shows that a voltage drop of 2 to 5% is often considered acceptable. However, anything above 10% can lead to noticeable dimming.
Typically, long LED strips or inadequate wire gauge can exacerbate this issue. For instance, a 16-foot LED strip powered by a standard 22-gauge wire may experience significant drop. In such cases, the strip could lose up to 2 volts at the far end. This is detrimental since most LED strips function optimally at around 12 volts. As a result, the last section may appear dimmer.
Using thicker wires helps reduce voltage drop. Experts recommend utilizing at least 18-gauge wire for longer runs over 10 feet. Additionally, parallel wiring can effectively mitigate voltage issues. These strategies not only improve brightness but also prolong the lifespan of the LED strip. Ignoring potential voltage drop issues could diminish the overall performance of your lighting setup.
| LED Strip Type | Voltage Drop (V) | Length (ft) | Brightness at Start (lm) | Brightness at End (lm) | Brightness Loss (%) |
|---|---|---|---|---|---|
| Bendable LED Strip | 1.5 | 16 | 800 | 600 | 25 |
| Recessed LED Strip | 2.2 | 10 | 700 | 500 | 28.6 |
| Flexible LED Strip | 1.8 | 20 | 850 | 650 | 23.5 |
| Waterproof LED Strip | 2.0 | 15 | 900 | 670 | 25.6 |
When installing low voltage LED strips, you might notice dimming at the ends. This issue often arises from the length and configuration of the strips. Longer strips can create resistance in the electrical flow, leading to inconsistent brightness. Additionally, voltage drop can occur as the distance increases, especially in poorly designed layouts.
Consider how you arrange your LED strips. If they’re far from the power supply, use thicker gauge wires to reduce resistance. For extensive runs, splitting the strip into shorter segments can help. This facilitates better voltage distribution, ensuring each segment remains bright and evenly lit.
Tips: Use a power supply that matches your total wattage needs. Also, check connections regularly, as loose connections can exacerbate dimming issues. When planning the layout, keep an eye on the total distance from the power source to help maintain performance. Understanding these configurations can make a significant difference in lighting quality.
This chart illustrates the relationship between the length of LED strips and the percentage of brightness lost at the end of the strip. As the length increases, the dimming effect becomes more pronounced due to voltage drop and increased resistance.
Low voltage LED strips can dim at the ends due to several power supply issues. One common cause is insufficient voltage from the power supply. If the voltage decreases over distance, your strip will not receive enough power. This results in a noticeable dimming effect.
Another factor to consider is the current draw of your LED strip. If the strip is too long for the power supply, the excess length can lead to voltage drop. This typically happens if wires are too thin or too long. Inspecting connection points and wire gauge is crucial.
Lastly, check for any loose connections or damaged components. Frayed wires or poor solder joints can contribute to inconsistent brightness. Inconsistent supply can lead to flickering or dim spots. Reflecting on your installation and power supply choices is vital for achieving uniform brightness.
Low voltage LED strips often experience dimming towards the end due to voltage drop. This occurs when electricity travels a long distance along the strip. As the current moves, it loses energy, resulting in reduced brightness. Maintaining consistent brightness across your strip is essential for both aesthetics and functionality.
One effective solution is to shorten the length of the strip connected to the power supply. This reduces the distance the current must travel. Another option is to use thicker wires. Thicker wires have less resistance, helping to maintain voltage levels throughout the strip. If you prefer to keep the existing setup, consider adding an additional power source midway. This can help to offset the voltage loss and enhance brightness towards the ends.
Assess constantly what works best. Sometimes, minor adjustments can yield better results. Experimenting with different solutions may reveal unexpected outcomes. Ensure that you monitor your LED strip for any inconsistencies. Addressing these issues sooner can prevent bigger problems down the line.
: Dimming often results from voltage drop, poor connections, heat buildup, or the quality of the strip itself.
Voltage drop occurs due to resistance in wiring, leading to less voltage and noticeable dimming, especially at longer distances.
A drop of 2 to 5% is generally acceptable, but anything over 10% can cause visible dimming.
Using thicker wires and parallel wiring can help maintain voltage levels and improve brightness across the strip.
For runs over 10 feet, at least 18-gauge wire is recommended to reduce resistance and voltage drop.
Yes, adding an additional power source midway can help offset voltage loss and enhance brightness at the ends.
Constantly check for inconsistencies in brightness and adjust your setup as needed to address dimming issues.
Loose or corroded connections can hinder power flow, leading to uneven brightness along the strip.
Yes, trying different solutions can lead to unexpected improvements and a better overall lighting experience.
Assess connections and consider shortening the strip or upgrading wire gauge to improve brightness.
In investigating the question, "Why is my low voltage LED strip losing brightness at the end?", several common factors can contribute to this dimming effect. One significant cause is the voltage drop, which occurs when the electrical resistance increases along the length of the strip, leading to reduced luminosity at the far end. Additionally, the length and configuration of the LED strips can impact overall performance, with longer runs more susceptible to dimming.
Another critical aspect is the power supply; inadequate or inconsistent voltage from the power source can exacerbate brightness issues. To address these challenges, solutions such as shortening the length of the strips, using thicker wires, or ensuring a suitable power supply can help maintain consistent brightness throughout the entire strip. By understanding and addressing these factors, users can effectively mitigate dimming in their low voltage LED installations.

Zionsville Lighting