Mounting LED strip lights on an uneven surface can be surprisingly difficult. Dust, grooves, paint texture, and sharp corners may prevent the adhesive backing from holding firmly. A strip that looks secure at first may begin sagging after a few days, especially near warm areas or curved edges.
What is the best way to mount LED strips on uneven surfaces? The answer depends on the surface, strip type, and installation location. Experienced installers often combine cleaning, flexible mounting channels, strong clips, and carefully placed adhesive. Aluminum profiles can help manage heat and create a straighter appearance, while silicone channels offer better protection in damp areas. Small mounting clips are useful when walls are heavily textured or slightly damaged.
Test the layout first.
Measure each section before removing the backing paper. Press the strip gently into shallow contours, but avoid forcing it into deep gaps. For rough masonry, a smooth backing board may provide a more reliable foundation. In practice, perfect adhesion is rare. I have seen carefully prepared strips fail because the surface still held fine dust or because the corner was bent too tightly. That is why a short test installation matters. Leave one section in place for several hours, then check for lifting, heat, and uneven lighting. This guide explains practical mounting methods, common mistakes, and safer ways to achieve clean illumination without damaging the strip or the surface.
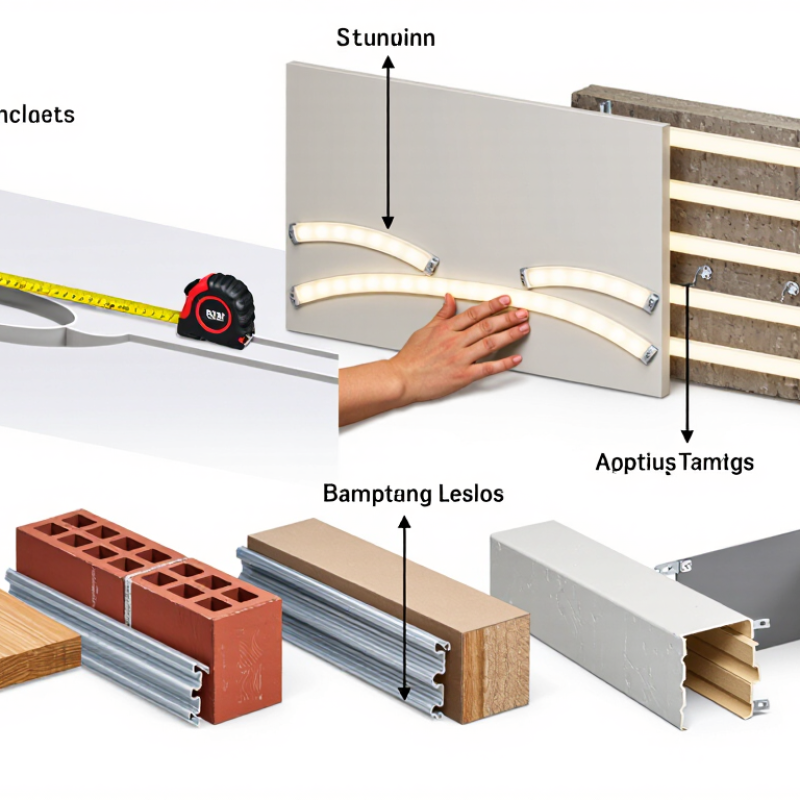
Assessing the surface is the real starting point. Run your fingers across the wall and mark bumps, gaps, loose paint, and dusty areas. A strip may look flexible, but its adhesive needs continuous contact. Clean the surface with a suitable lint-free cloth, then let it dry completely. Never mount over flaking paint or damp plaster.
For shallow waves, flexible mounting clips can hold the strip at regular intervals without forcing it flat. On rough brick or deep grooves, use a slim mounting channel fixed with appropriate screws or fasteners. The channel creates a straighter lighting line and protects the strip from sharp edges. For corners, follow the strip’s recommended bending direction and avoid tight folds. I have learned that adhesive alone often fails on textured walls, even when the surface feels clean. My first choice is not always the best one.
Tips: Test a short section before installing the full length. Check for shadows at night, not only in daylight. Leave small gaps between clips near uneven sections. Keep the strip away from heat sources, and inspect the wiring before switching it on. If the surface keeps shedding dust, rethink the location instead of adding stronger adhesive. That mistake becomes expensive later.
Mounting LED strip lights on an uneven surface starts with preparation, not adhesive. Dust, grease, loose paint, and moisture can weaken the bond. Wipe the area with a mild cleaner, then let it dry fully. Feel along the route with your fingertips. Raised edges and gritty patches need attention. A small ridge can create a gap beneath the strip.
For rough plaster, brick, or textured wood, smooth only the contact path. Light sanding can remove sharp bumps without changing the whole surface. Fill deep holes with a suitable repair compound, and wait until it cures. I have found that rushing this stage causes lifted corners later. It looked secure at first. It was not. Check the surface again after repair, because fine dust often returns.
When the wall remains uneven, add a narrow, flat mounting channel or thin backing pieces. Keep the support aligned, with no sudden bends around high spots. Test the strip in position before removing its liner. Press along short sections, holding each for several seconds. Avoid stretching the strip; tension can pull it away overnight. Extra clips may help near joints and corners, but they should not crush the light strip. Leave room for ventilation and inspect the installation after one day.
Mounting LED strip lights on uneven surfaces needs more than stronger tape. Start by identifying the surface: painted plaster, textured brick, wood, or curved metal. Dust and loose paint can defeat even a well-rated adhesive. I wipe the area with a suitable cleaner, then let it dry fully. Test a short strip first. This small trial prevents expensive rework. On mildly uneven walls, high-bond mounting tape may work when pressed firmly for several seconds. But tape follows bumps poorly.
For grooves, ridges, and broad curves, use an aluminum or plastic channel with a diffusing cover. A channel creates a straighter path and protects the strip from accidental knocks. If the wall changes height, cut the channel into shorter sections. Leave small gaps at bends rather than forcing sharp corners. Screw-mounted clips offer better control on dusty masonry or rough timber. Place clips at regular intervals, especially near connectors and corners. Choose flexible mounting accessories for arches, cabinet lips, and irregular transitions. They can include bendable channels, swivel clips, or adjustable brackets.
Measure twice, but expect some adjustment. I once trusted adhesive alone on textured plaster, and the strip sagged overnight. The lesson was simple: combine support methods when the surface is uncertain. Use clips at load points, then let adhesive hold the center. Avoid covering ventilation openings or trapping heat around high-output strips. Check the cable route before fixing anything permanently. A neat installation should remain serviceable, not merely look tidy on day one.
| Mounting Method | Best Surface Condition | Typical Surface Irregularity | Recommended Strip Width | Load or Support Capability | Installation Requirements | Advantages | Limitations | Best Use Case |
|---|---|---|---|---|---|---|---|---|
| High-Bond Double-Sided Tape | Clean, dry, smooth or lightly textured surfaces | Low; generally suitable for shallow texture and minor waviness | Usually suitable for 8–12 mm strips | Light-duty support; performance depends on surface cleanliness, temperature, and tape width | Remove dust and grease, press firmly along the full length, and allow the adhesive to bond before powering the strip | Fast, discreet, and does not require drilling | May release from dusty, porous, oily, damp, or highly textured surfaces; heat can reduce bond strength | Short indoor runs on painted walls, furniture, cabinets, and other relatively smooth surfaces |
| Construction Adhesive or Neutral-Cure Silicone | Porous, rough, painted, or irregular surfaces | Medium; can bridge small gaps when applied in controlled beads | Suitable for most flexible LED strips when used with a backing layer or mounting profile | Moderate support after curing; exact strength varies by substrate and adhesive formulation | Use compatible adhesive, support the strip during curing, and provide ventilation according to the product instructions | Adapts better than tape to uneven surfaces and can improve long-term retention | More difficult to remove; curing time is required; some solvent-based products may damage strip coatings | Permanent or semi-permanent installations on textured walls, masonry, and irregular wood surfaces |
| Surface-Mounted Aluminum Channel | Surfaces with moderate unevenness where a straight light line is desired | Low to medium, depending on the channel base and fixing method | Commonly available for 8–12 mm strips; verify internal channel width | Provides mechanical protection and a stable mounting base | Fix with screws, suitable adhesive, or both; use spacers where the wall has dips or protrusions | Improves heat transfer, protects the strip, and creates a cleaner appearance with a diffuser | Rigid channels do not follow sharp curves or large changes in surface level | Linear lighting under cabinets, along ceilings, stair edges, and architectural features |
| Flexible or Bendable Aluminum Channel | Curved, faceted, or gently undulating surfaces | Medium; follows gradual curves better than rigid profiles | Often designed for narrow to medium-width strips; check the internal dimensions | Provides continuous support while allowing controlled bending | Pre-bend the profile carefully, secure it at regular intervals, and avoid forcing it around tight corners | Maintains a more uniform light line and provides better heat dissipation than exposed mounting | Cannot compensate for abrupt bumps; excessive bending may distort the profile or diffuser | Arched ceilings, curved furniture, rounded columns, and gently winding installations |
| Mounting Clips or Saddles | Rough, dusty, porous, or moisture-prone surfaces | Medium to high; clips can be individually positioned to follow the surface | Choose clip width and clearance to match the strip or protective channel | Good mechanical retention when fixed with appropriate screws or fasteners | Install clips at regular intervals and near bends; avoid compressing LEDs or cutting through the circuit board | Reliable on surfaces where adhesive cannot bond consistently; easy to replace or reposition | Visible hardware may affect appearance; drilling may be required | Workshops, masonry, textured walls, outdoor sheltered areas, and long-term installations |
| Cable Ties with Anchor Bases | Frameworks, rails, exposed structural members, and service areas | High; the anchor points can be spaced around uneven geometry | Suitable for strips installed inside a protective sleeve, channel, or carrier | Strong mechanical restraint when anchors are correctly secured | Use UV-resistant ties where exposed to sunlight; leave enough slack to avoid crushing the strip | Useful for complex shapes and temporary or serviceable installations | Less visually discreet; excessive tension can damage the strip or restrict thermal movement | Metal frames, pipework, trusses, utility spaces, and irregular support structures |
| Hook-and-Loop Mounting Tape | Clean, smooth surfaces where removable access is important | Low; limited ability to conform to pronounced bumps | Suitable for lightweight strip assemblies and compact profiles | Light to moderate support, depending on contact area and shear direction | Apply the adhesive side to a clean surface and avoid placing the joint directly over a hot LED section | Allows removal for inspection, replacement, or seasonal reconfiguration | Adds thickness, may collect dust, and can lose adhesion under heat or moisture | Display cases, temporary lighting, rental spaces, and accessible service installations |
| Magnetic Mounting Base | Ferromagnetic steel surfaces, racks, cabinets, and removable panels | Low to medium, depending on magnet spacing and base flexibility | Suitable for strips mounted in a compatible carrier or low-profile channel | Good removable support on clean steel surfaces; holding force decreases across gaps | Keep the magnetic base in full contact with the metal surface and prevent sliding on vertical or vibrating surfaces | Fast to install, reposition, and remove without drilling | Not suitable for aluminum, wood, glass, or most masonry without a separate steel receiving plate | Electrical cabinets, metal shelving, machinery frames, and temporary work lighting |
| 3D-Printed or Custom-Fit Brackets | Highly irregular geometry, corners, transitions, and nonstandard mounting areas | High; brackets can be designed to match measured contours | Designed around the selected strip, channel, or diffuser dimensions | Depends on material, wall thickness, fasteners, and bracket geometry | Measure the surface accurately, provide ventilation around the strip, and test-fit before final fixing | Provides a tailored solution where standard accessories do not fit | Requires design and fabrication time; some plastics soften under prolonged heat or sunlight | Custom furniture, curved details, prototypes, one-off architectural installations, and repair work |
| Flexible LED Neon or Silicone Carrier | Curved surfaces, rounded edges, and areas requiring a continuous diffused appearance | Medium to high, depending on the carrier’s bend radius | Use only with the matching strip or carrier dimensions | Requires clips, channels, or adhesive support; the silicone body alone is not a universal structural mount | Respect the manufacturer’s minimum bend radius and mount with compatible accessories | Conforms to curves, protects the LEDs, and reduces visible pixel points | Usually thicker and less heat-efficient than exposed strip or aluminum channel; tight bends can cause damage | Signage, curved borders, decorative contours, and locations needing a smooth continuous glow |
| Hybrid Adhesive-and-Clip System | Uneven surfaces where both clean appearance and mechanical security are needed | Medium to high, depending on clip placement and adhesive coverage | Suitable for strips or channels matched to the selected clips | Higher installation security than adhesive alone when correctly spaced | Use adhesive for initial positioning and clips for permanent retention; leave space for heat dissipation | Balances neat appearance, load distribution, and resistance to peeling or vibration | Requires more installation time and may combine the removal limitations of both methods | Long runs, ceilings, textured surfaces, vibration-prone areas, and installations requiring extra reliability |
Mounting LED strip lights on uneven surfaces requires more than strong adhesive. Curves, gaps, and irregular edges constantly stress the strip. A clean, dry surface matters most. Dust, paint flakes, and silicone residue can cause early failure.
For tight curves, measure the bend radius before installation. Never fold the strip sharply. Instead, cut only at marked points and connect separate sections with flexible, low-voltage connectors.
Around a gap, install short sections on both sides, then hide the connection inside a small service space. For rough walls, adhesive alone is unreliable.
Use mounting clips every 20 to 30 centimeters, especially near corners.
I once trusted tape on a textured ceiling. It looked perfect for a week, then sagged overnight.
Heat also deserves attention.
The International Energy Agency reports that lighting consumes about 15% of global electricity, making efficient installation and operation important (IEA, 2023). Yet efficiency does not remove thermal problems. The U.S. Department of Energy’s 2023 solid-state lighting report identifies thermal management as a continuing performance priority.
An aluminum channel can spread heat and create a straighter light line, even around imperfect surfaces. Select a suitable IP rating for moisture, but do not treat it as waterproof protection for exposed connections.
Check the power supply load, leave access for repairs, and follow local electrical requirements.
Uneven surfaces reward patience. A slightly visible connector is better than a hidden failure.
Mounting LED strip lights on an uneven surface requires more than pressing down the adhesive. Dust, paint flakes, and deep grooves can create hidden gaps. Clean the surface with a suitable, non-oily cleaner, then let it dry fully. I usually test a short section before installing the entire strip. This small step often exposes problems early.
Place the strip loosely along the planned route. Do not stretch it across bumps. Leave gentle curves around corners, and avoid sharp folds near soldered connections. Power the lights briefly and inspect every section. Look for flickering, dark spots, loose edges, or areas that feel unusually warm. Test again after adjusting the strip. My first layout once looked straight but created tension near a corner. That assumption was wrong.
For rough surfaces, use small mounting clips or a slim channel designed for the strip. Space the supports evenly, especially before and after a ridge. Do not press hard enough to crush the circuit board. Keep the power connection supported, not hanging from the strip. After the final test, protect exposed sections from moisture, dust, and accidental contact with a suitable cover. Allow airflow around the lights. Heat needs somewhere to escape. Check the installation again after several hours and the next day. Adhesive can appear secure at first, yet loosen overnight. A careful recheck may feel excessive, but it can prevent a failed section and repeated work.
Run your fingers across the wall and mark bumps, gaps, loose paint, and dusty areas. Adhesive needs continuous contact. Never install over damp plaster or flaking paint.
It may work briefly. Textured walls often create hidden gaps beneath the adhesive. Use flexible clips or a slim mounting channel when the surface sheds dust or feels rough.
Flexible mounting clips can support the strip at regular intervals. Leave small gaps between clips near uneven sections. Do not force the strip completely flat.
Use a slim channel on rough brick, deep grooves, or sharp surfaces. It creates a straighter lighting line and protects the strip’s edges. Choose suitable screws or fasteners.
Follow the strip’s recommended bending direction. Make gentle curves instead of tight folds. Avoid sharp bends near soldered connections, where tension can cause damage.
Yes. Place a short section along the planned route and power it briefly. Check for flickering, dark spots, loose edges, and unusual warmth.
Inspect the lights at night, not only in daylight. Look for shadows near ridges and corners. Adjust the route if the strip creates tension or uneven brightness.
Support the power connection instead of letting it hang from the strip. Keep airflow around the lights, and protect exposed sections from moisture and dust. Recheck the installation after several hours and again the next day. Adhesive can look secure at first, yet loosen overnight.
Mounting LED strip lights on uneven surfaces requires careful planning, proper preparation, and flexible installation methods. Start by examining the surface to identify bumps, gaps, curves, moisture, dust, or loose materials. Clean and dry the area, smooth sharp edges where possible, and fill larger gaps to create a more stable foundation. What is the best way to mount LED strips on uneven surfaces? The most reliable approach is to combine suitable adhesives with mounting clips, flexible channels, or other supportive accessories instead of depending on adhesive backing alone.
For curved or irregular areas, gently guide the strip without sharply bending or twisting it, leaving enough room around corners and gaps to prevent stress. Use clips or a flexible channel to maintain alignment and improve long-term support. After installation, test the lighting, check for dark sections or loose areas, and adjust the strip before fully securing it. Finally, protect the installation from dust, moisture, friction, and accidental pulling so the LED strip remains stable, evenly positioned, and functional over time.

Zionsville Lighting